I did this about a year and half ago.
First you want to get an idea of what you want, e.g. do you want a cocktail cabinet, a standing machine, how many players, what size screen.
How handy are you? If very there are plenty of plans around where you can work to or you could even design your own and then make it with MDF. For this I decided I wanted a vewlix clone, and while I am somewhat handy I opted for the wood pre-cut in a flat plack.
Here is what the render of the cabinet I ordered looked like:
When I ordered my flat-pack these are the things I considered and allowed for:
- Player count (2)
- Buttons per player and layout (in my case 2 and opted for the vewlix style of layout)
- Other buttons (4 smaller buttons on the control surface for P1, P2 and aux buttons for start/select etc, while I had another 4 holes cut for 4 buttons underneath)
- Screen type and size (I based it around a Sony 32" LCD)
- Speakers (4 holes cut for 4" Car Speakers)
- Coin door (hole cut to put a working 2P coin door)
- Holes on rear for fans
- Hinged door on front to enable easy access to innards
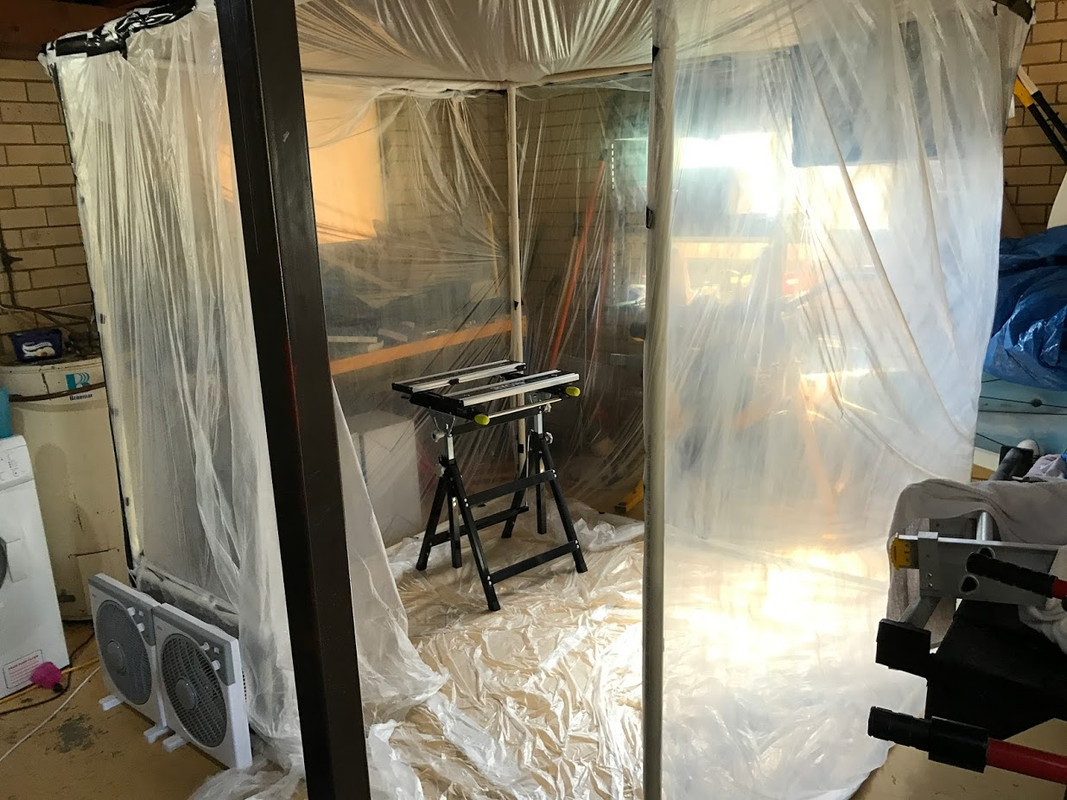
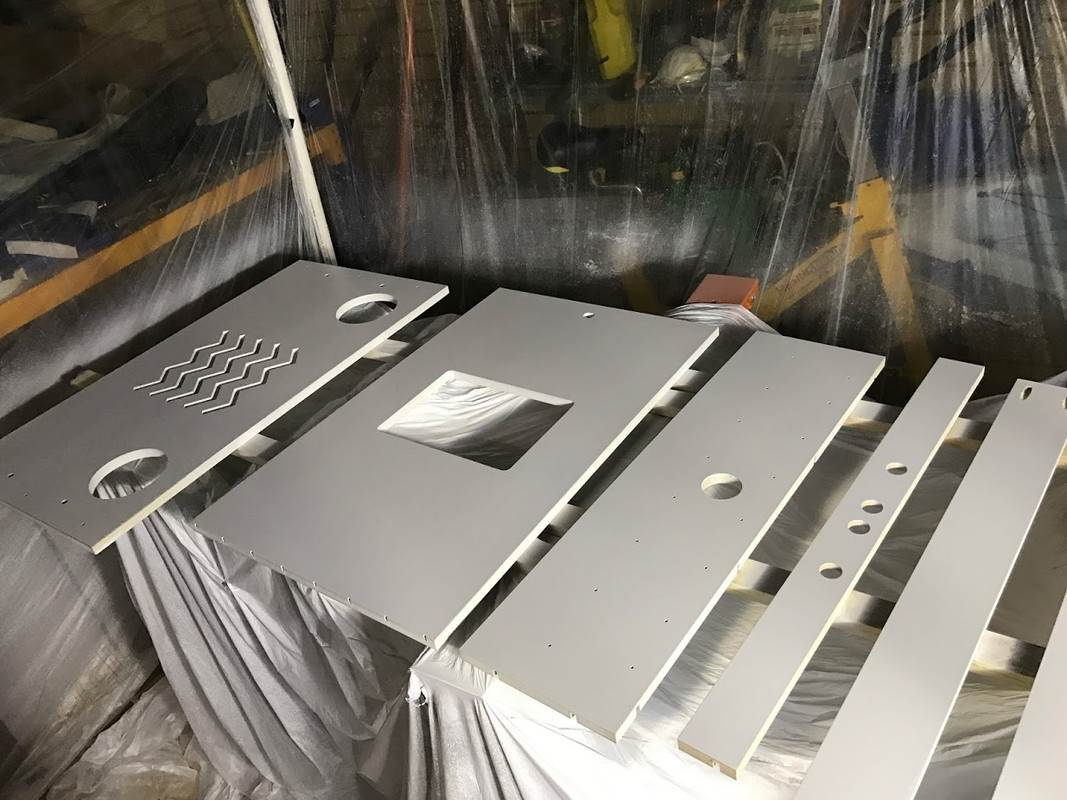
Next you need to work out how you are going to protect the surface of the MDF (loves soaking up moisture). I painted (in a make shift spray booth out of PVC, plastic drop sheets, a couple of cheap fans and some filter material) ever piece with a sealing undercoat and then applied coats of white or black depending on the area (with light sanding in between) before finally coating some of it with clear polyurethane.
Makeshift spray booth:
As well as painting there are some surfaces that are best finished with vinyl wrap, such as the control surface, this is nice looking hard wearing stuff, the particular one I used was a matte black finish.
So at this point the cabinet itself has been painted, vinyl wrapped, finished and put together. Next part is the innards, I will list again what areas to think of and what I used:
- Screen (32" Sony HDTV, as this was to be used for both classic and modern games)
- Speakers (4 x JBL GTO 4" Speakers)
- Amp, you need something to drive your speakers, for this I used an SMSL Q5, more than enough power and has USB and optical input)
Controls, I will keep this separate as there is a bit to it. Depending on the types of games you will be playing will play a big part into this. Do you prefer Sanwa, or maybe Happ? Do you want an 8 way joystick or just a 4?
- Joysticks (I went with something a little different here and am using Servostiks, there are a nice little stick which have a motor built in and can change from 4 way to 8 way, you can even set it to change automatically depending on the game, e.g. if I load Pac-Man it will change to 4 way, if I load a fighter it will go to 8 and so on).
- Buttons, again a personal preference (I am using Sanwa OBSN-30 as my game buttons and for option buttons I am using OBSF-24s). Keep in mind there are screw in and push in buttons, depending on what your control board is made from will depend on which ones you want)
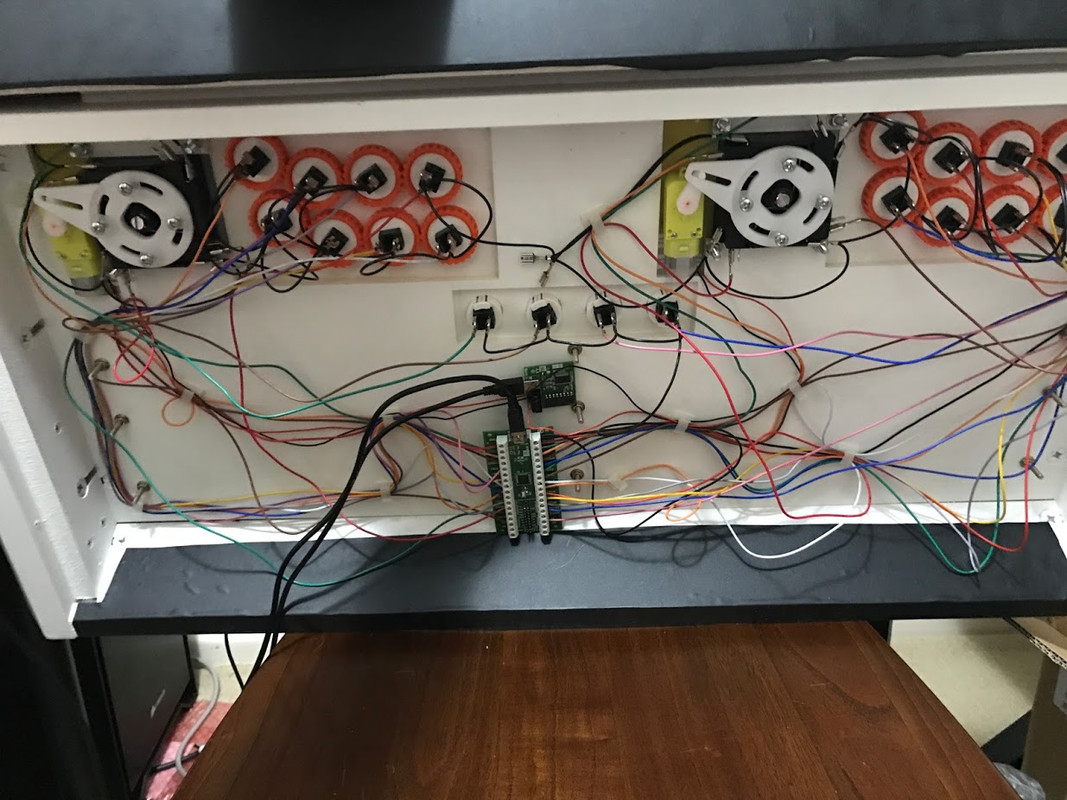
- Control Board, you need a way to interface the buttons and sticks with the computer/Pi/Console or whatever you're using. I opted to use an IPAC 4, which plugs into my PC via USB. This board has the advantage of macros, so you can hold down a designated special button and then press another button to do function x. For example I have a button combination that will hibernate the machine, another that turns it on, and one for volume up and volume down, the list goes on.
There is a lot of wiring to do, here's a pic of my testing phase, NSFW:
The brains, aka the PC:
This is where you need to decide how you are going to run this all, for me I was lucky enough to have recently built a new PC so I had an old PC with a 770 to run in it. From this I run Mame and many other emulators, but I also run Steam, Windows store and other current PC games (e.g. Tekken 7). Now this is where it gets tricky, in order for me to run modern games I need the game to support keyboard input, as the controller I am using is exactly that, a keyboard emulator. This can be tricky with certain games and sometimes you have to use a combination of xbox controller emulators, baked dlls and other hacks to get game x working (this is not a problem with MAME and the like). You can just use an xbox pad innards to achieve this also. So I suggest you think long and hard about what games you want to play.
As part of the above you need to decide what O.S. you are using, I just used Windows 10, but that is only the half of it. I wanted my machine to be as if I don't have Windows, and no-one using it would know. It was quite a bit of working using a combination of registry hacks, startup scripts etc to get it there but it can be done. The most important part of this is the dashboard/launcher you use. There are 2 of real note Hyperspin and Launchbox. I decided to use Hyperspin it has a great set of tools and loads of functionality (for instance it will download art, descriptions etc for your game library, it supports every emulator launcher (e.g. Steam) that I have thrown at it, great bit of software, it does however take a great deal of time and patience to get it right and when you do back it up ASAP!
After that there are just fun customisation things to consider, I got decals online for the the P1 P2 and all other options buttons, wired up my coin door and have it working with MAME, some seats, artwork etc, there are so many things you can do. I would have to say this little project was one of the most rewarding things I have done in recent history.
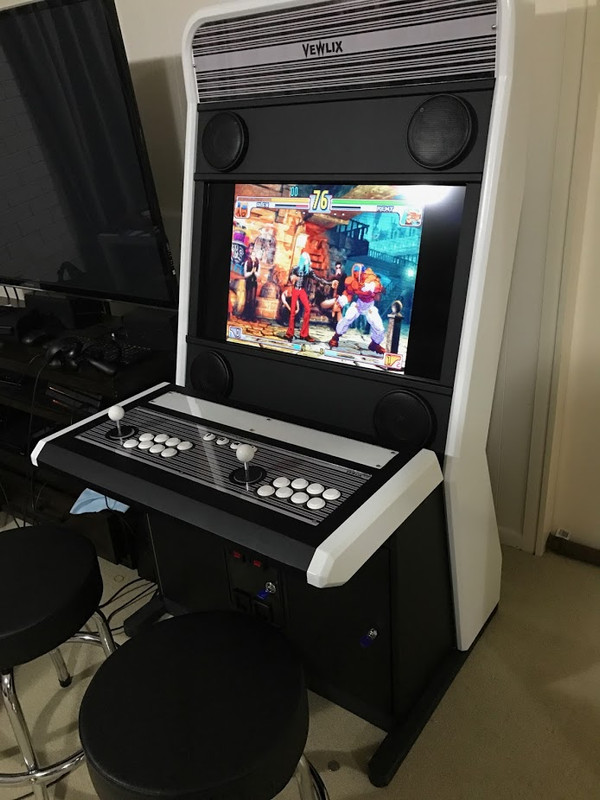
The final product:
I am by no means an expert at this, and this is the first and only one I have built, so don't be discouraged at all. Seriously, if I can do it, most people can.